No products in the basket.
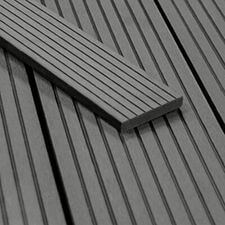
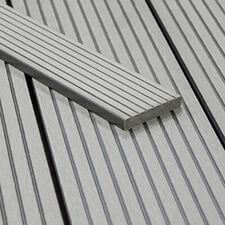
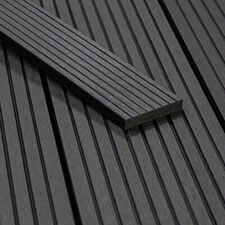
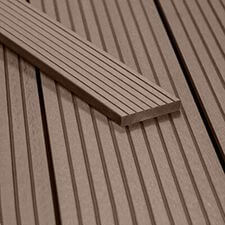



How to Install Composite Decking with Hidden Fasteners
Published · By Tough Decking Composite DeckingHidden fasteners are the clips that hold composite boards down from the side, sitting in the groove on the board edge and screwing into the joist, so there are no screw heads on show. To install with them, build a solid subframe, fix the first board along the edge with starter clips, then work across the deck slotting each board onto the clips and screwing a clip into every joist as you go. The clips set an even gap between boards automatically and leave the surface completely clean. You get eight or more per board and all the fixings in our kits.
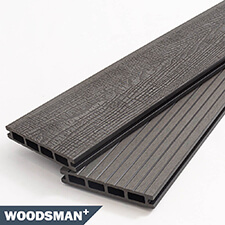
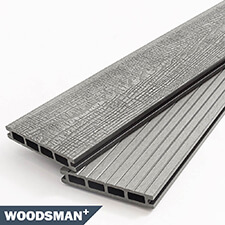
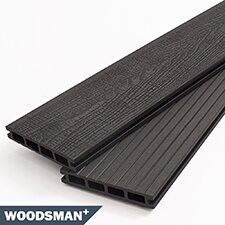
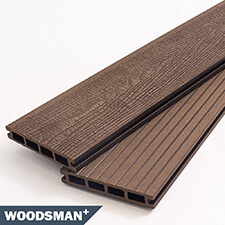
Hidden fasteners, sometimes called hidden fixings or clips, are what give a composite deck that clean, screw-free finish you see in the photos. They are also the standard way our boards go down. Here is how to install composite decking with hidden fasteners, step by step, and why they do a better job than screwing through the face.
What are hidden fasteners?
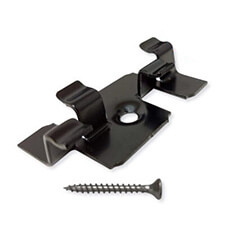
A hidden fastener is a small clip, usually stainless steel, that sits in the groove running along the side of each composite board. You screw the clip down into the joist, and its wings grip the edge of the board on each side, holding two boards at once as you work along. Because the fixing sits in the gap between boards rather than through the top, nothing shows on the finished surface. It is the opposite of old-style decking where you can see a line of screw heads down every board.
Why use hidden fasteners?
Three good reasons. First, the finish: a clean, unbroken surface with no screw heads to catch the eye, collect water or work loose. Second, the gaps: the clip automatically sets a consistent expansion gap between boards, so you do not have to space them by eye. Third, movement: because the board is held but not pinned through the face, it can expand and contract with the weather without splitting around a screw. It is a better fix and a better look.
What you need
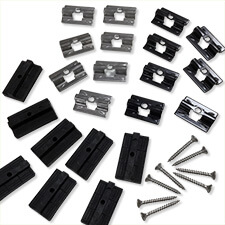
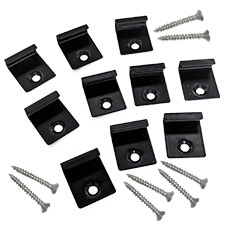
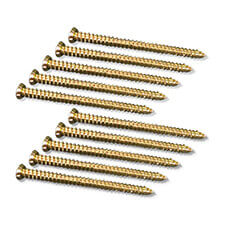
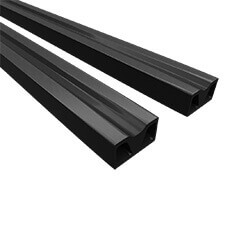
For a hidden-fastener install you will need the subframe (timber or our composite joists), the hidden fixing clips at a minimum of eight per board, starter clips for the outer edges, joist screws, and a drill-driver with a PZ bit. Our decking kits come with the boards, the right number of clips, the screws and the PZ bit together, so nothing is missing on the day.
How to install composite decking with hidden fasteners
Work along the deck one board at a time and let the clips do the spacing for you:
- Get the frame right. Set the joists at 300mm centres, doubled under every board joint, level, fixed down and laid to a slight fall so water runs off. Our joist spacing guide covers the detail.
- Fix the first edge. Along your starting edge, screw a starter clip to each joist and sit the outer edge of the first board into them. This holds the one edge that has no board next to it.
- Clip the inner side. Fit a hidden clip into the groove on the inner side of that first board at every joist, and screw each one down. The clip wings will hold the next board.
- Add the next board. Slot the next board’s groove onto the exposed clip wings and push it up snug, then fit and screw clips along its far side. Repeat right across the deck.
- Handle the board ends. Where boards meet end to end, land both ends on a doubled joist, fix each one, and leave about a 5mm expansion gap. Stagger the joints across the deck rather than lining them up. Our expansion gaps guide has the numbers.
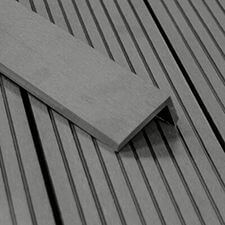
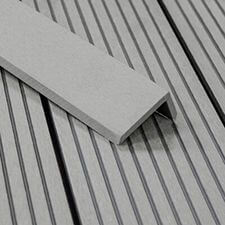
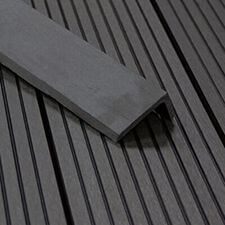
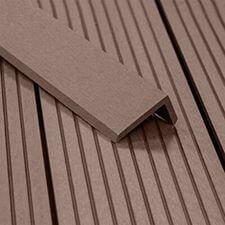
- Finish the edges. Trim the last board to width if needed, then finish the perimeter with fascia board, corner trim, or a step nosing on any steps.
Our full installation guide and fitting instructions have the finer detail.
A few tips for a clean job
Seat each clip fully but do not over-tighten and strip the screw. Do not skip clips to save time, one at every joist and at least eight per board is what keeps the deck flat and rattle-free. Check your run stays straight every few boards, because a small drift adds up across a wide deck. And always leave your end and perimeter gaps, as the boards need room to move. Get those right and the deck goes down fast and stays put.
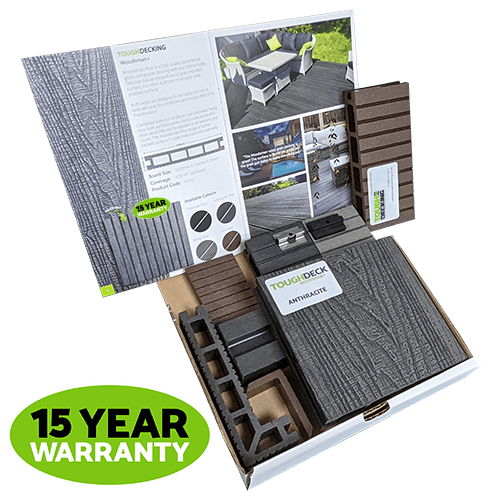
Ready to start? You can pick up the boards, clips and fixings separately on our composite decking boards page, or take the guesswork out with a kit that bundles it all. Order a free sample pack first if you want to see the boards, and give us a call if you want to talk your job through.