No products in the basket.


How to Lay Composite Decking: A Step-by-Step Guide
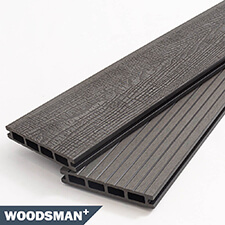
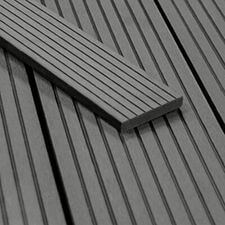
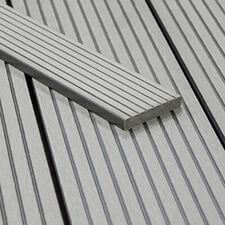
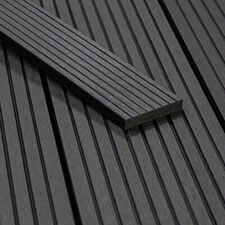
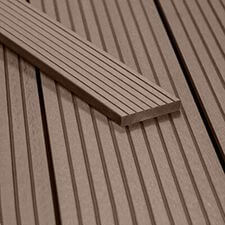
Published · By Tough Decking Composite DeckingLaying composite decking is a job most people can do themselves in a weekend. Build a level timber subframe with the joists no more than 300mm apart, fix your first board along one edge, then use the hidden clips to secure and space each board as you work across. The clips set the gaps for you, so the hard part is really just getting the frame right.
Composite goes down differently from timber. There are no visible screws through the face of the board, the fixings are hidden clips that sit between the boards, and that is what gives composite its clean, finished look. It is not complicated once you see how it works. Here is the whole job, start to finish.
What you need before you start
If you are using one of our kits, the boards, the stainless clips and screws, and a PZ drill bit all come in the box, so the decking side is sorted. You supply the subframe timber and a few basic tools:
- Treated timber joists for the subframe
- A drill or driver (the PZ bit in the kit fits straight on)
- A saw for cutting boards and joists to length
- Tape measure, pencil and a spirit level
- Gloves and eye protection
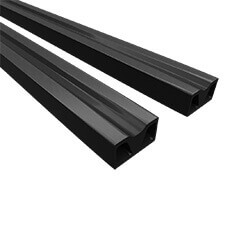
Get the subframe right first
This is the part that makes or breaks the deck, so take your time over it. Build a level frame with the joists no more than 300mm apart, centre to centre. Closer is fine, further apart is not, because the boards will start to feel bouncy and the deck ages faster at the fixings. Make sure water can drain away and air can move underneath, since a frame that traps damp shortens the life of everything sitting on it. Get this flat, square and sound and the rest is easy.
Lay and fix your first board
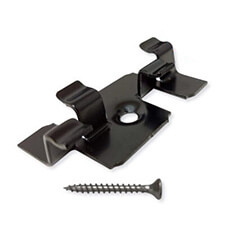
Start along one edge. The first board is fixed down with starter clips or edge fixings along the outer joist, and this board sets the line for the whole deck, so check it is straight and square before you commit to it. A few minutes getting the first board right saves a lot of grief later on.
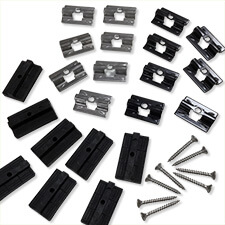
Clip the rest of the boards into place
From here it is a rhythm. Drop a hidden clip onto each joist along the edge of the board you have just laid, screw them down, then slide the next board into the clips and tap it home. The clips do two jobs at once, they hold the board down and they set an even gap between every board automatically, so you are not measuring spacing as you go. Repeat across the deck, one board and one row of clips at a time. You will need roughly 23 clips per square metre, which the kit already accounts for.
Leave room for movement
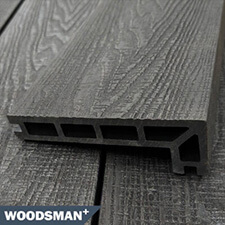
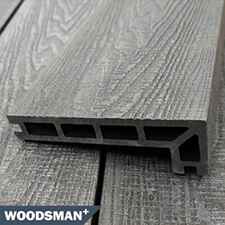
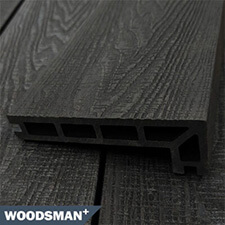
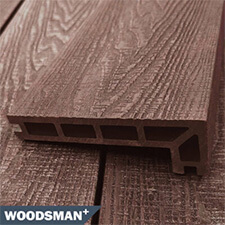
Composite expands and contracts a little with the temperature, so it needs somewhere to go. The clips handle the gap along the length of the boards. Where board ends meet end to end, and where the deck runs up to a wall or a post, leave a small expansion gap of around 5mm. Our boards are made hollow by design, which keeps that movement to a minimum, but the gaps still matter, especially if you are laying in cold weather.
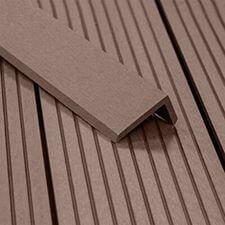
Finish the edges off
The last job is what makes it look professional. Fascia board hides the subframe around the perimeter, corner trims tidy up the angles, and step nosing finishes any steps. None of it is structural, but it is the difference between a deck that looks fitted and one that looks properly finished.
How long does it take to lay a deck?
A small, straightforward deck on level ground is a weekend job for a confident DIYer. A bigger one, or anything with steps, levels or awkward access, will take a few days. The kit speeds things up because the board counts and fixings are already worked out, so you spend your time building rather than head-scratching at the merchants.
If you would rather see and handle the boards before you commit, order a free sample pack first. And when you are ready to go, our composite decking kits arrive with everything but the subframe and the tools, which is the simplest way to get a deck down without missing a fixing. Any questions on your particular job, give us a call.